
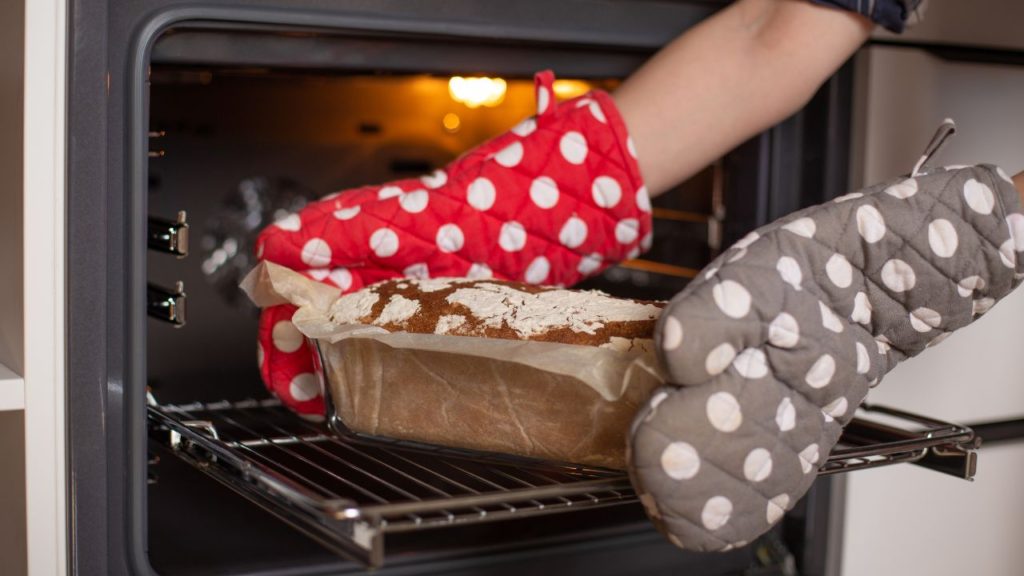
Is there anything better than freshly baked blueberry muffins, chocolate cake, or banana bread from the oven? Yes, actually, and that’s freshly baked blueberry muffins, chocolate cake, or banana bread from your RV oven. You might have tried and failed to get your RV oven to produce consistent results. How do you bake in an RV?
Here are my top tips for baking in an RV:
- Be ready for some trial and error
- Don’t bake anything too big
- Anticipate different cooking times than at home
- Check your propane levels
- Invest in an oven-safe thermometer
- Always preheat
- Buy a baking stone
- Be ready to rotate
Even if all your baking adventures in your RV have led to food that’s burnt to a crisp, you can finally change that with these handy tips. Keep reading for everything you need to know to bake Instagrammable food in your RV!
The 8 Top Tips for Baking in an RV
1. Be Ready for Some Trial and Error
I still remember when I moved from my first apartment to a house. I went from a dinky electric oven to one that uses real flames.
The first few times I cooked anything, even recipes I knew like the back of my hand and had been making for years, I screwed them up. Some food was undercooked, other recipes were overdone.
Why am I telling you this? Baking in your RV oven is like going from an electric to a propane stovetop. It’s going to feel like baking for the first time all over again.
You will burn the cookies. Your famous triple-decker chocolate peanut butter cake will come out undercooked in the middle.
It’s not that you suddenly forgot how to bake. It’s that you need to accommodate for your new setup.
Rather than let your RV oven discourage you, anticipate that the first few times will be disasters. Learn from your mistakes and your recipes will gradually begin coming out more like what you bake back home.
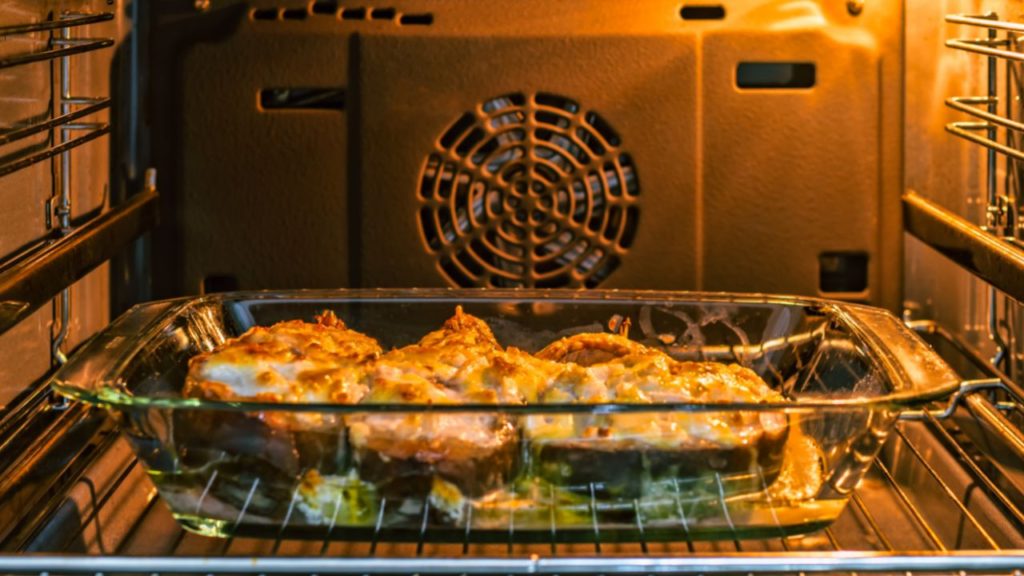
2. Don’t Bake Anything Too Big
RVs, even the larger-than-life models, simply can’t fit amenities the same size as what we’re used to back home. The shower is smaller, the TV is smaller, and guess what? Your RV oven is smaller too.
The average size of an RV oven is 17 inches wide. An oven is considered bigger if it’s 21 inches.
You’re going to have a lot less space in the oven to work with than you’re used to. Some RV oven models feature adjustable racks, which does make up for the smaller size of the oven a bit.
Even still, you’re going to have to make some compromises. If you usually bake three trays of your made-from-scratch chocolate chip cookies at once, you might have to go one tray at a time in your RV oven.
You might even have to bake smaller yields since the smaller size of your RV oven could very well require a cookie tray downsize.
The risk of cramming too much baked goodness into your RV oven is that it won’t come out in one piece.
Looking for additional camp cooking methods?
3. Anticipate Different Cooking Times Than at Home
You know that your favorite apple strudel recipe requires between 35 and 40 minutes in the oven.
And maybe that will be the case with your RV oven or perhaps it will take even longer.
I can’t tell you if your RV oven will cook foods faster or slower than what you’re used to, but I can promise you that either way, it will be different.
This is where trial and error will come in handy. You’ll learn through experience that you should shave five minutes off your strudel recipe or add three minutes to the chocolate chip cookies.
If you’d rather not burn your baked goods, then here’s my advice.
Get into the habit of checking your cookies or pie several minutes before you think they should be done, like five or even 10 minutes earlier.
If your treat is almost done baking, then give it two to three minutes and check again.
I must warn you that you don’t want to check your baked goods too often. Since RV ovens don’t have lights, you’ll have no choice but to open the oven door to peek in on what’s baking.
Each time you do this, you’re releasing some of the hot air and introducing cool air into the oven. This can further delay how long it takes for the treat to be baked through.
I would recommend jotting down exactly how long it takes all your favorite recipes to bake in your RV oven and then use that information moving forward.
4. Check Your Propane Levels
Do you plan on baking up a storm during some downtime in your RV? I hope you have plenty of propane stored!
RV ovens need propane to run. Even if your vehicle otherwise runs on electricity, that’s still the case.
It’s not only your oven that uses propane but the hot water heater, stove, and furnace as well.
As you can see then, it would be majorly inconvenient to run out of propane in the middle of baking for a few reasons.
For one, you’ll never get to finish your amazing baked creation.
On top of that, you also can’t use the stove or get any hot water until you can pull over to the closest home improvement store or gas station to buy more propane.
Just as you wouldn’t begin grilling on a near-empty tank of propane, don’t bake in your RV oven without sufficient propane either.
5. Invest in an Oven-Safe Thermometer
Your RV oven will produce a temperature reading just like your oven back home does. The difference?
While you can confidently trust that your home oven has reached the temperature it’s displaying, you cannot do the same with your RV oven.
Well, you could assume that the temperature reading your RV oven gives you is accurate, then watch as your food either comes out charred or puddly and undercooked.
I much more recommend spending a couple of dollars on an oven-safe kitchen thermometer.
These thermometers are usually metal, and some have a metal hook built into the thermometer for easy attachment to your oven rack.
Allow your RV oven to reach the desired temperature for baking and then quickly open the oven door to check the oven-safe thermometer.
Is it accurate to the reading your RV oven is giving you? If not, then how many degrees is the reading off by?
While it will vary by oven, I’ve heard that some RV ovens can have a temperature differential of as much as 10 degrees Fahrenheit either hotter or colder than what the oven itself is reading.
Obviously, that’s going to make a huge difference in how you bake either way!
If your oven is 10 degrees colder than what it’s telling you, you’ll have to bake for longer. If it’s 10 degrees hotter, you’ll end up reducing your cooking times.
6. Always Preheat
I’m sure you’ve done this before, as I know I’m certainly guilty of it.
You’re cooking dinner and it’s way later than you wanted to get started. You need the oven to reach 375 degrees, but it just seems to be taking so long (probably because you’re standing there in the kitchen watching the oven temperature raise by one degree at a time).
By the time it gets to 355, you figure that’s close enough and toss your food in. The oven will increase by the required 20 degrees while it’s cooking. Your food might take a few more minutes to cook through, but you’ll wait.
You can’t do that when baking in your RV oven, as I’m sure I don’t have to tell you by this point.
There’s enough that can go wrong with baking in the oven as it is that you don’t need to create extra work by throwing in your cookies or cake before the oven preheats.
Allow the RV oven to get to the proper temperature and then corroborate that temperature using your oven-safe thermometer. Only then should you insert your baked goodies into the oven.
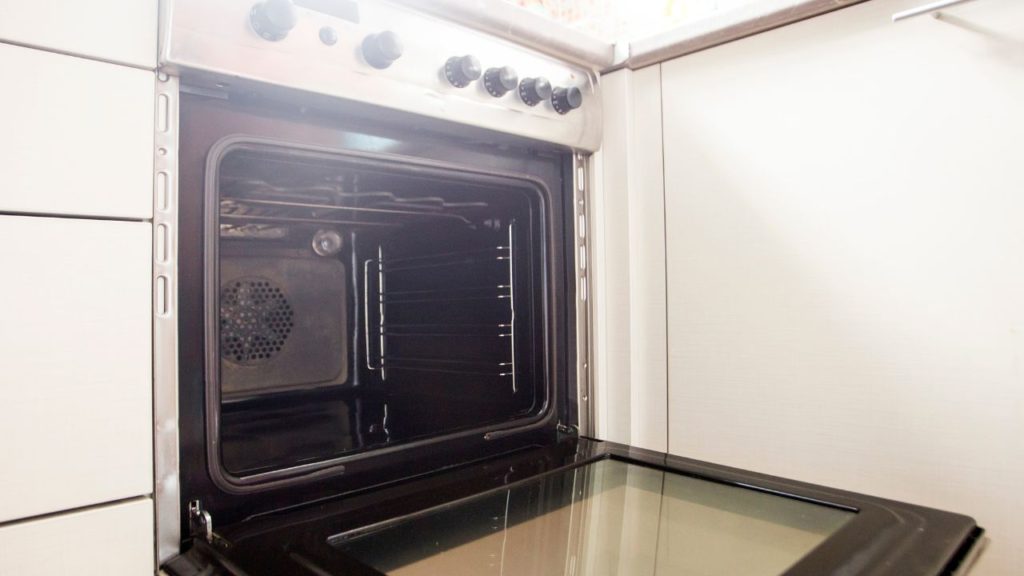
7. Buy a Baking Stone
RV ovens feature a metal plate nearer the bottom of the oven. At first glance, you might assume the purpose of this plate is to distribute heat. And while sure, that’s the intention, it’s not what happens.
The hottest parts of an RV oven are nearest to where the flame emanates and directly over the flame. The coolest spots are the farthest from the flame.
By placing a baking stone on the metal shelf in the oven, the stone insulates the metal plate from the flames so that the plate does what it’s supposed to, distributes heat.
You don’t have to run out and buy a specialty stone for this unless you want to. While a new baking stone will produce great results, so too does a pizza stone if you have one of those.
Just make sure that the ventilation holes in the RV oven are never covered by the baking stone. That would cause problems.
8. Be Ready to Rotate
A baking stone does wonders for your RV oven. Even still, the stone can’t completely overcome the hotter spots and cooler spots in your oven.
You know what can? Rotating your baked dish about midway through baking.
Whether it’s a cake pan that you spin or a cookie tray that you shift from one side to another, this short and quick little trick will ensure that everything is cooked well on both sides.
Looking for some budget camping food ideas?
Conclusion
And that’s pretty much all there is to it.
Baking in an RV oven isn’t the easiest thing ever, and I won’t pretend that it is. You have space constraints, uneven heating without a stone, inaccurate temperatures, and odd cooking times.
If you follow the tips in this article, you can overcome the bulk of these issues to finally bake quality foods like you make at home even if you’re thousands of miles from your kitchen!