
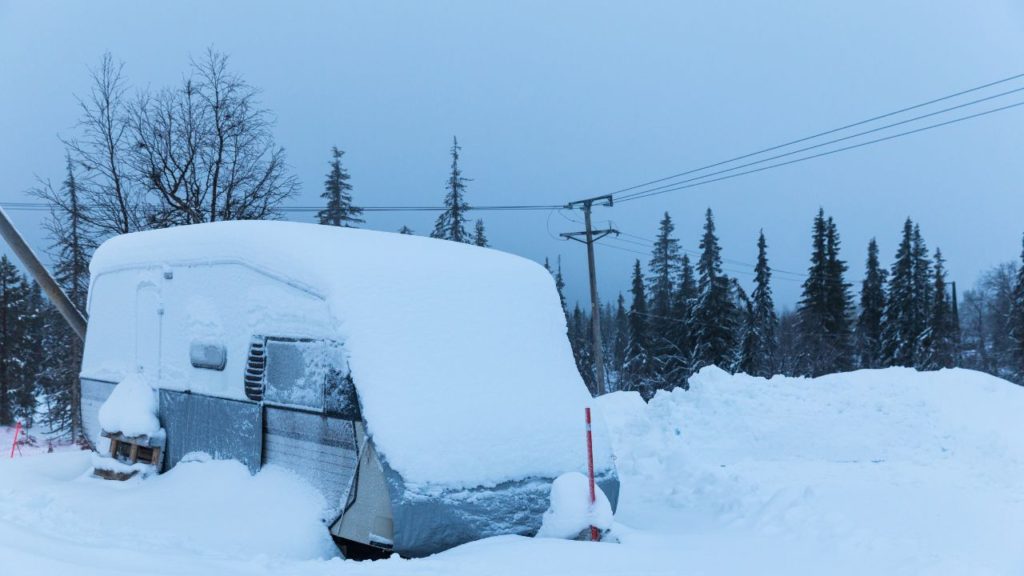
It’s the end of camping season. You know that you won’t be using your RV again until spring. Now, it’s time to winterize your RV. You might be asking yourself, “Can I winterize my RV myself?”
You can winterize your RV yourself and the process is not complicated. Most people winterize their own RV. It will take a little time and money (for supplies), but it’s worth the effort.
Read on to find out how to winterize your RV and why you should do it.
What is RV Winterizing
Winterizing a recreational vehicle is a process that prepares it for cold weather storage at the end of the camping season. Winterizing involves completely draining the water from your RV tanks. In most cases, you’ll also add special RV antifreeze.
Reasons for Winterizing Your RV
It’s important to winterize your RV before the cold weather arrives.
The following are reasons for winterizing your RV yourself:
-Save money on maintenance
-Prevent freezing damage to your plumbing system
-Extend the life of your RV plumbing
-Prevent leaks caused by freezing that may result in expensive repairs
Do all RVs Need to Be Winterized?
If you store your RV in an area that does not get below 32 degrees Fahrenheit, you may not need to winterize your RV. If you’re on the cusp of 32 degrees err on the safe side and winterize your RV.
What Happens if an RV is Not Winterized?
If you don’t winterize your RV, your pipes may freeze, crack and leak. This damage can be time-consuming and expensive to repair.
Supplies to Winterize Your RV
- A small air compressor adjustable to 20 lbs PSI
- A blow-out plug for the air compressor
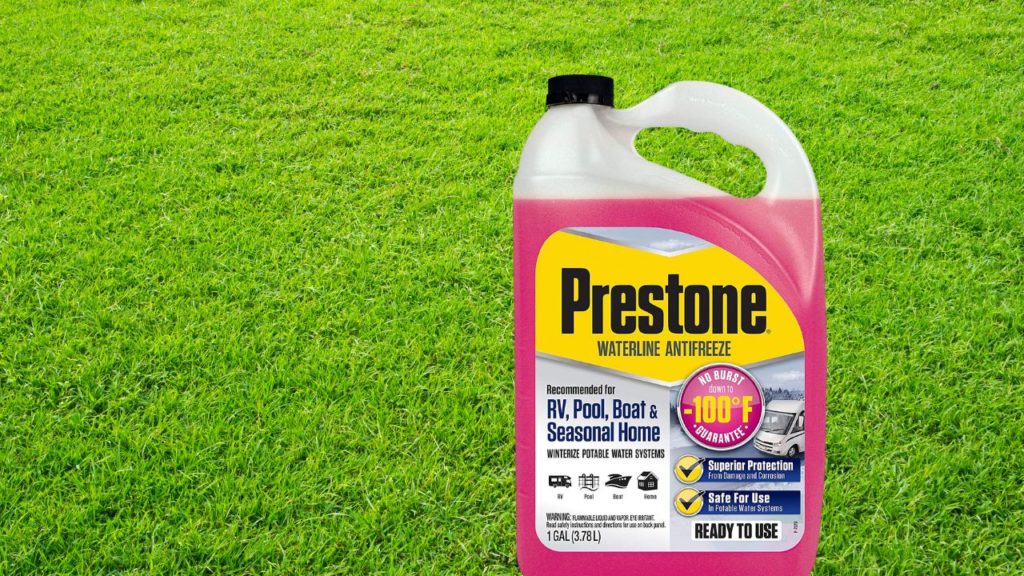
- 2-3 Gallons of RV-safe antifreeze*
- Camco Antifreeze Hand Pump Kit
- Phillips and flathead screwdrivers
- Towels
- Small water buckets
- A wrench and socket to remove the anode
- New anode rod (if needed)
*RV antifreeze is twice the cost when purchased online. Check Walmart or your auto parts stores for lower prices. Smaller RVs will require less antifreeze.
What’s The Easiest Way to Winterize an RV?
Here is the easiest way to winterize your RV. This procedure bypasses the RV water pump and fresh water tank so you’re not trying to flush them out at the beginning of the next season.
Steps to Winterizing the RV Plumbing System
Now we will address the steps to winterizing your RV plumbing system. If you do not want to use RV-safe antifreeze, we’ll talk about that below.
Step 1 -Empty the Tanks
Empty all your holding tanks, including the grey and black water tanks. If you have a sewer cleanout at home, you may be able to dump your tanks there. Otherwise, be sure to dump your tanks on your last trip of the season.
Make sure the tanks are empty.
Flush the tanks with clean water after dumping. This will reduce the chance of odors. Don’t use any chemicals as they may react adversely with the RV antifreeze.
Step 2 – Drain the Fresh Water Tank
Open the drain valve to your fresh water tank and allow it to drain completely. Most drain valves are located underneath the RV. If you’re not sure where your drain valve is located, check your owner’s manual.
Step 3 – Turn on the Water Pump
Place a bucket underneath the faucet in your RV and turn the water pump on. Open the valve and let the water drain into the bucket until no more water comes out.
Turn off the water pump.
Leave the faucet valves open for step 10.
A word of caution: You can damage your water pump if you forget to turn it off when the tank is empty.
Step 4 – Open Low-Point Drains
If you have any low-point drains, open them. If you’re not sure of the location of low-point drains, check your RV owner’s manual.
Step 5 – Drain the Hot Water Tank
Make sure your water heater is off and completely cooled before you attempt this step. You don’t want to be sprayed with hot water.
Make sure the water pump is still turned off.
Open the pressure release valve on the water heater. This will allow the water to begin to drain and relieve the system pressure.
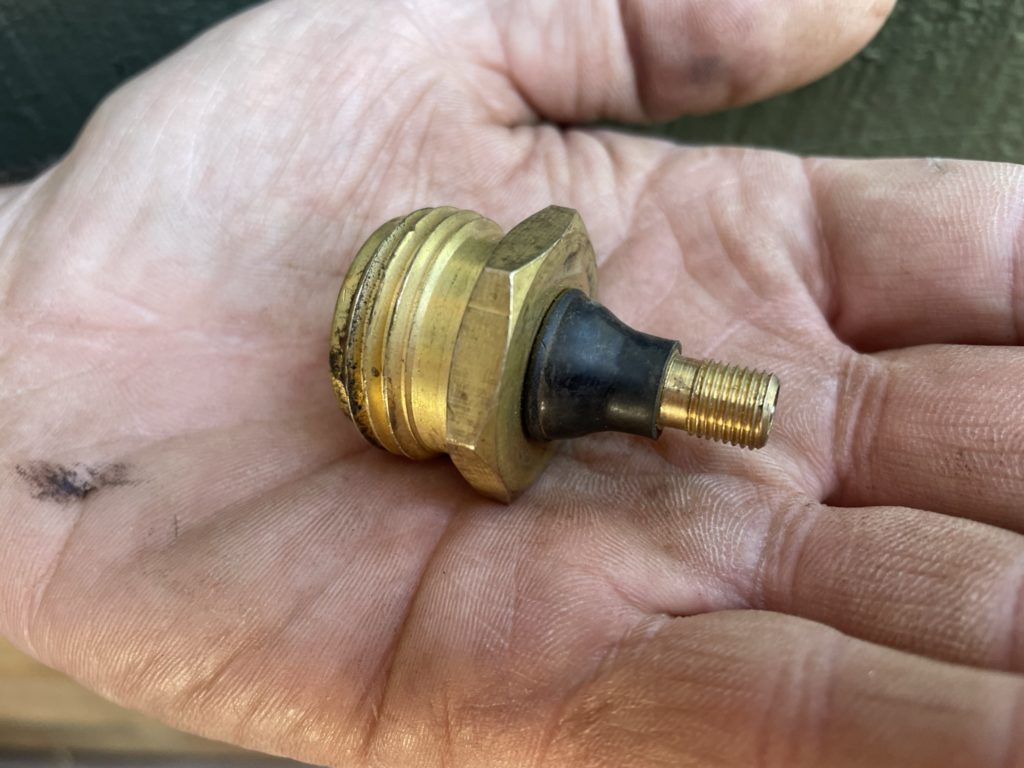
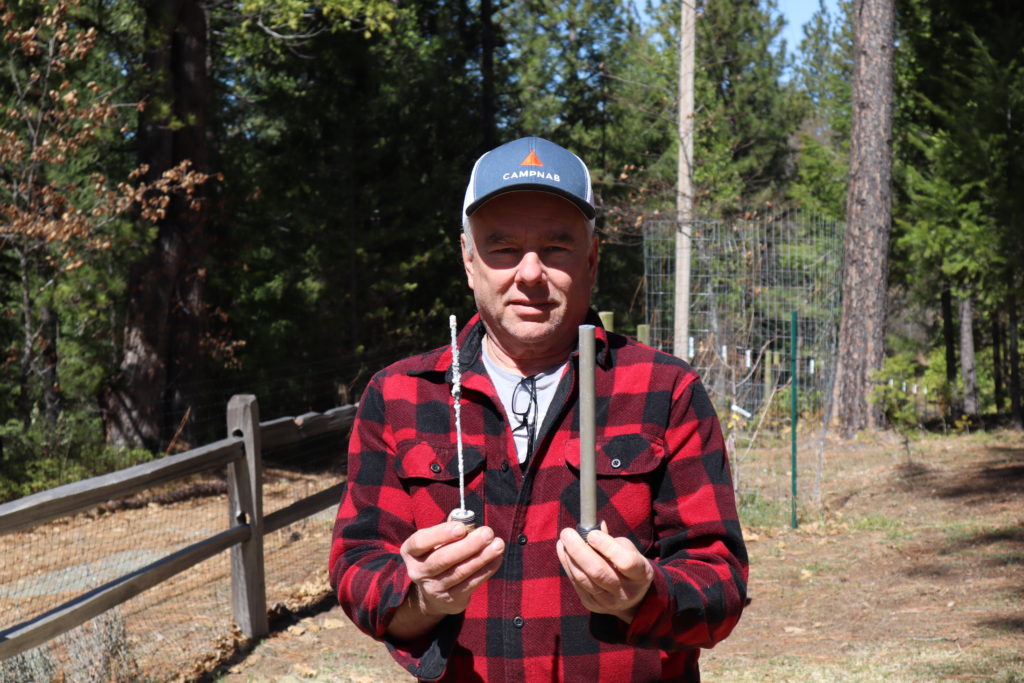
After the water has drained from the pressure release valve, remove the anode or drain plug depending on the brand water heater installed in your RV. This is a good time to check your anode rod condition, if equipped, and replace it if necessary.
A word of caution: If you forget to open the pressure relief valve before removing the anode, you will be sprayed with water. Ask me how I know.
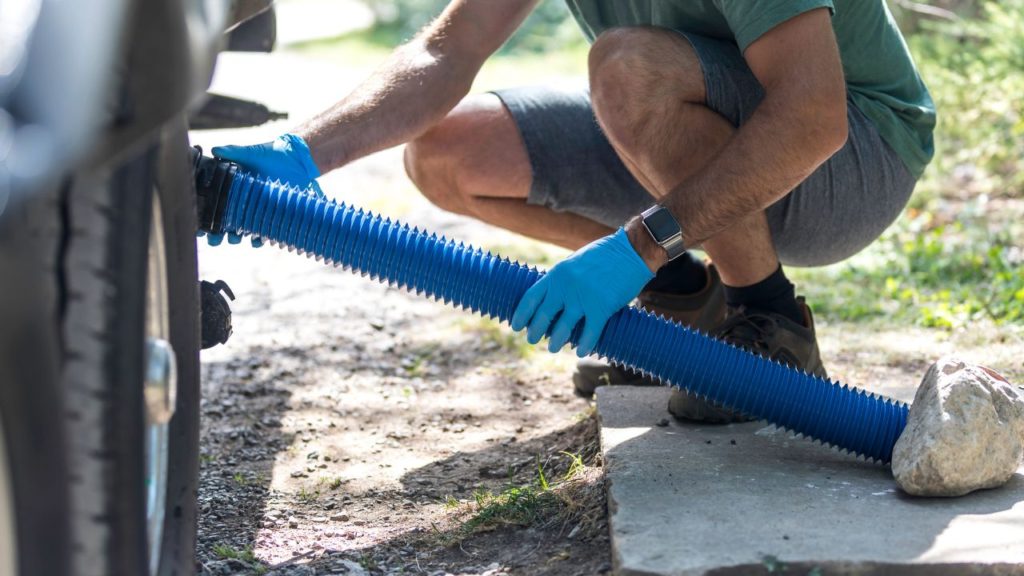
Step 6 – Blow Out the Fresh Water Lines
Attach the blow-out plug to the city water connection. Make sure the low-point drain is open. Otherwise, you may damage your plumping.
Using an air compressor set at 20 PSI, attached the air compressor hose to the blow-out plug. Water should drip out of the low-point drain.
If you have a fresh water tank hose connection, be sure to blow that out as well.
Step 7 – Blow Out the Black Water Tank
Some RVs have a flush valve connections for cleaning the black water tank. If your RV has one, complete this step; otherwise, skip to the next step.
Insert the blow-out plug into the black tank clean out hose connection if equipped. You must do these steps in order as you don’t want to contaminate your fresh water tank.
Repeat the same process that you used with the fresh water tank by attaching the air compressor hose to the blow-out plug. Attach the air compressor, set to 20 PSI, to the blow-out plug for about a minute.
Step 8 – Cap the Fresh Water Tank Fill and Black Tanks Clean Out Connection/Close the Low Point Drains
Remove the blow-out plug, if used, and replace the dust caps on the fresh and black tank inlets.
Close the low point drains.
Step 9 -Add RV Antifreeze
As I mentioned before, some RV owners do not use antifreeze. We don’t and I’ll explain why in a minute.
If you are adding antifreeze, read on.
RV antifreeze is corrosive to the anode rod. Consequently, you’ll need to bypass the water heater when adding RV antifreeze.
Turn the water heater bypass valve to bypass the water heater. If you’re not sure where your bypass valve is located, check your RV owner’s manual. The owner’s manual will also give you the specific bypass procedure for your RV.
Step 10 – Pump the Antifreeze into the Line
Attach the antifreeze hand pump outlet tube to your city water inlet. This is the place where you hook up the freshwater hose to the campground water.
Slip the other end of the outlet tube on to the side spout of the hand pump.
Insert one end of the inlet tube into the bottom spout of the hand pump.
Submerge the other end of the tube into the antifreeze bottle. Start pumping.
Have someone inside the trailer make sure the antifreeze is coming out of the faucet. That person will also need to flush the toilet to make sure antifreeze is getting to the water line for the toilet.
If you have outside faucets, you will need to open those as well. Collect the antifreeze from the outside faucets into a bucket.
Step 11 – Open the Low Point Drain
Place a bucket under your low point drain. Open the low point drain, if equipped, until you see antifreeze dripping from it. Close the low point drain.
Be sure to collect and dispose of the antifreeze according to state and local regulations.
Winterizing Your RV Without Antifreeze
We choose not to use antifreeze. We complete all the steps to winterize our RV, we just omit adding the antifreeze.
We do live in a cold-weather climate. The temperature gets as low as 19 degrees where we live. However, we frequently use our RV in the fall and winter. Adding antifreeze and having to remove it each time would be a big burden.
So far, we haven’t had any problems with pipes freezing or breaking.
If you are putting your RV away for the winter, I recommend adding the RV antifreeze.
How Long Does It Take To Winterize an RV and Cost of the Process?
If it’s your first time winterizing your RV, it will take about an hour. If you don’t know where all your valves are, review the manual before you start. This will prevent some frustration.
Our local Camping World charges $109.99 to 159.99 for a complete winterization.
Here are the costs for the winterization process if you do it yourself:
| Item | Cost |
| Air Compressor | $50.00* |
| Blow-out plug | $8.00 |
| Camco Antifreeze Hand Pump Kit | $19.00 |
| Anode (if needed) | $10.00 |
| Anode Wrench and Socket | $10.00 |
| Total | $97.00 |
This list assumes you already have screwdrivers, buckets and, towels.
If you don’t already have an air compressor, you can get a portable air compressor for around $50.00. Then it’s a one-time charge. If you already have an air compressor, deduct $50.00 from this total.
Conclusion
Winterizing your RV is an inexpensive way to reduce the risk of costly plumbing repairs. Do it yourself and save some time and money!